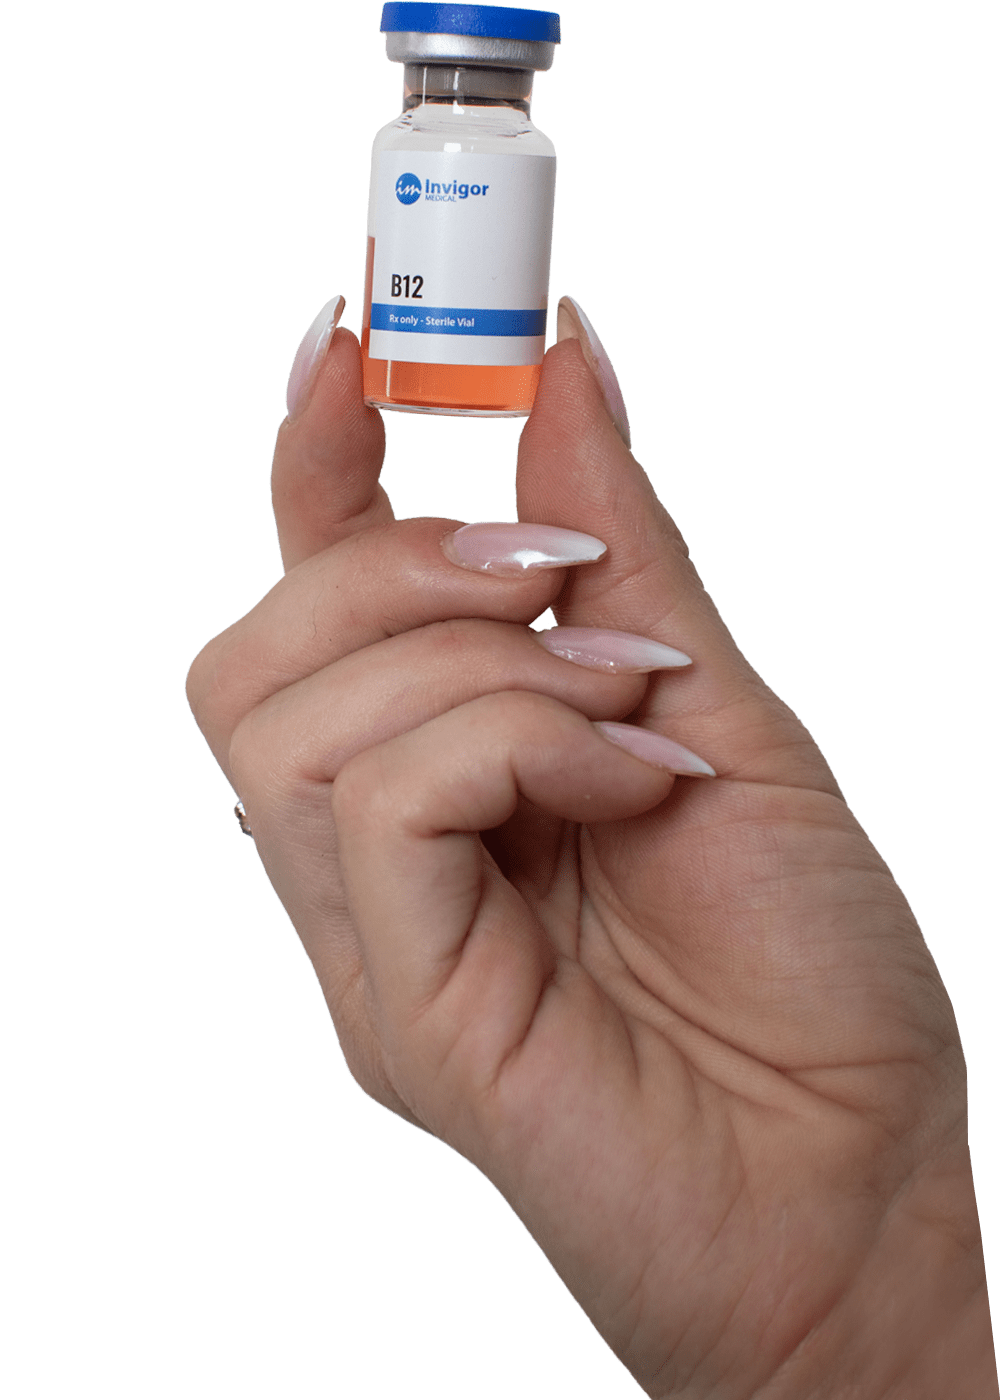
Many people use vitamin B12 injections to replenish their vitamin B12 levels, providing extra energy, vitality, and many other benefits. Vitamin B12 injections have different effects depending on your vitamin B12 status. Going to an injection clinic or doctor’s office for each injection is a hassle, and the fees add up. Learn how to self-administer vitamin B12. If the following instructions differ from what you were told by your healthcare provider, follow their instructions. Based on your health needs, your doctor has decided how much B12 to give you and where to give it.
Table of Contents
Intramuscular B-12 Injection Steps
Vitamin B12 injections steps may look a little intimidating at first glance, but once you get the hang of it, they will become second nature.
Step 1: Gather Your Supplies
In a clean, well-lit room, collect all necessary items, including:
- The medication vial
- The syringe and needle
- Two alcohol prep pads
- Adhesive bandages or cotton balls
- The package insert with the dosage information

Step 2: Draw Up The Medication
1. Wash your hands with soap and water.
2. If your medication is stored in the refrigerator, let the medication come to room temperature to reduce injection discomfort.
3. Peel the cap off the top of your medication vial (if opening a new vial). Next, open your alcohol prep pad and clean the rubber membrane of the medication vial thoroughly using a circular motion. Let dry. This will kill bacteria on the vial and reduce the risk of contaminating your medication.
4. Open a fresh syringe and needle. Screw the needle onto the syringe without removing the needle cap (if not preassembled). Pull the plunger on the syringe up and down several times to loosen it before uncapping the needle. Look at the syringe barrel and note the unit numbers along the syringe shaft. Identify the line that indicates your prescribed dose.
5. Uncap the needle while being very careful not to allow the needle to touch your hand, table, or other surfaces.
6. Hold the syringe upright with the needle facing up. Pull back the plunger to fill the syringe with air just past the prescribed dose.
7. Hold the syringe with the needle facing straight down and insert the needle through the center of the rubber membrane.
8. Flip the syringe and medication and inject the air into the vial.
9. Make sure the tip of the needle is in the medication liquid and that the syringe is rotated so you can see the dosage lines on the syringe. Withdraw the correct amount of medication into the syringe just past your prescribed dose. Push the plunger so that the top of the plunger is level with your dose, expelling any air bubbles by tapping on the syringe.
10. Then, pull the needle from the vial and replace the cap on the syringe, taking care not to bend the needle or touch any surfaces outside of the needle cap.

Step 3: Choose Your Injection Site
Intramuscular injections can be given into your upper buttocks, outer thigh, or shoulder muscle.
Ask your healthcare provider which injection sites are appropriate for you. Needle size and length may vary depending on the injection site.
The upper buttock is most commonly used for intramuscular injections. In order to avoid irritating the nerves, it’s important to inject in the upper outside quadrant of the buttock. This site is commonly used if someone is injecting the shot for you.
If you are injecting yourself, the outer thigh is commonly used.
Alternate injection sites and avoid any injection sites that are bruised, scarred, or covered with a skin rash.
Step 4: Injecting Your Medication
Use an alcohol prep pad and a circular motion to clean your injection site well. Allow your skin to dry. Have a cotton ball or adhesive bandage ready. To lessen the pain, use your non-dominant hand to pull the skin tight around the injection site. Hold the syringe and needle, so they are at a 90-degree angle to the injection site. Push the needle into the muscle using a firm, smooth motion.
Slowly push the plunger in to fully inject the medication. Pull the needle and syringe out and place them in a sharps container. Apply pressure to your injection site using a cotton ball or adhesive bandage. Store your medication as directed.
Using a metal coffee can and duct tape, you can make your own sharps container. Make a slit in the plastic lid to insert the used needles. Duct tape the lid to the container. Label the container as used needles. Dispose of the container following local biohazard waste instructions.
Conclusion
Learning how to self-administer Vitamin B12 injections is a valuable skill for those who decide to buy Vitamin B12 for personal health maintenance. With proper knowledge and techniques, self-administration can be a convenient and effective way to ensure you receive the full benefits of this essential nutrient. If you’re interested in purchasing Vitamin B12 injections and want to learn how to administer them safely at home, visit Invigor Medical for comprehensive guidance and options.


